September 15, 2022

Using free
Sentinel and Landsat imagery on Soar, you can capture amazing imagery. However, depending on the location and time captured, some colors may look washed out or have a blue tint due to the atmosphere or lighting. In this blog, I’m going to run you through the basics of how to process imagery using GIMP. It may sound intimidating, but don’t be afraid! we’ll be taking it one step at a time.
Now anyone can make incredible imagery like this
GIMP recently updated (GIMP 2.10.32) with the ability to edit and export “.tiff” files while keeping their GeoTIFF data. If you haven't heard of GIMP before, it’s a free image manipulation software - similar to things like photoshop.
Previously, any image edited in GIMP would have its geo data (info about where the map should be placed on top of the earth) destroyed, meaning the edited version could not be uploaded to platforms like Soar. You’d have to manually georectify the edited map in order to have it work.
Now that the data gets saved, you can easily use GIMP to edit and enhance your imagery, then throw it back into Soar to store and share online!
Before we begin, what exactly is a “Processed” image?
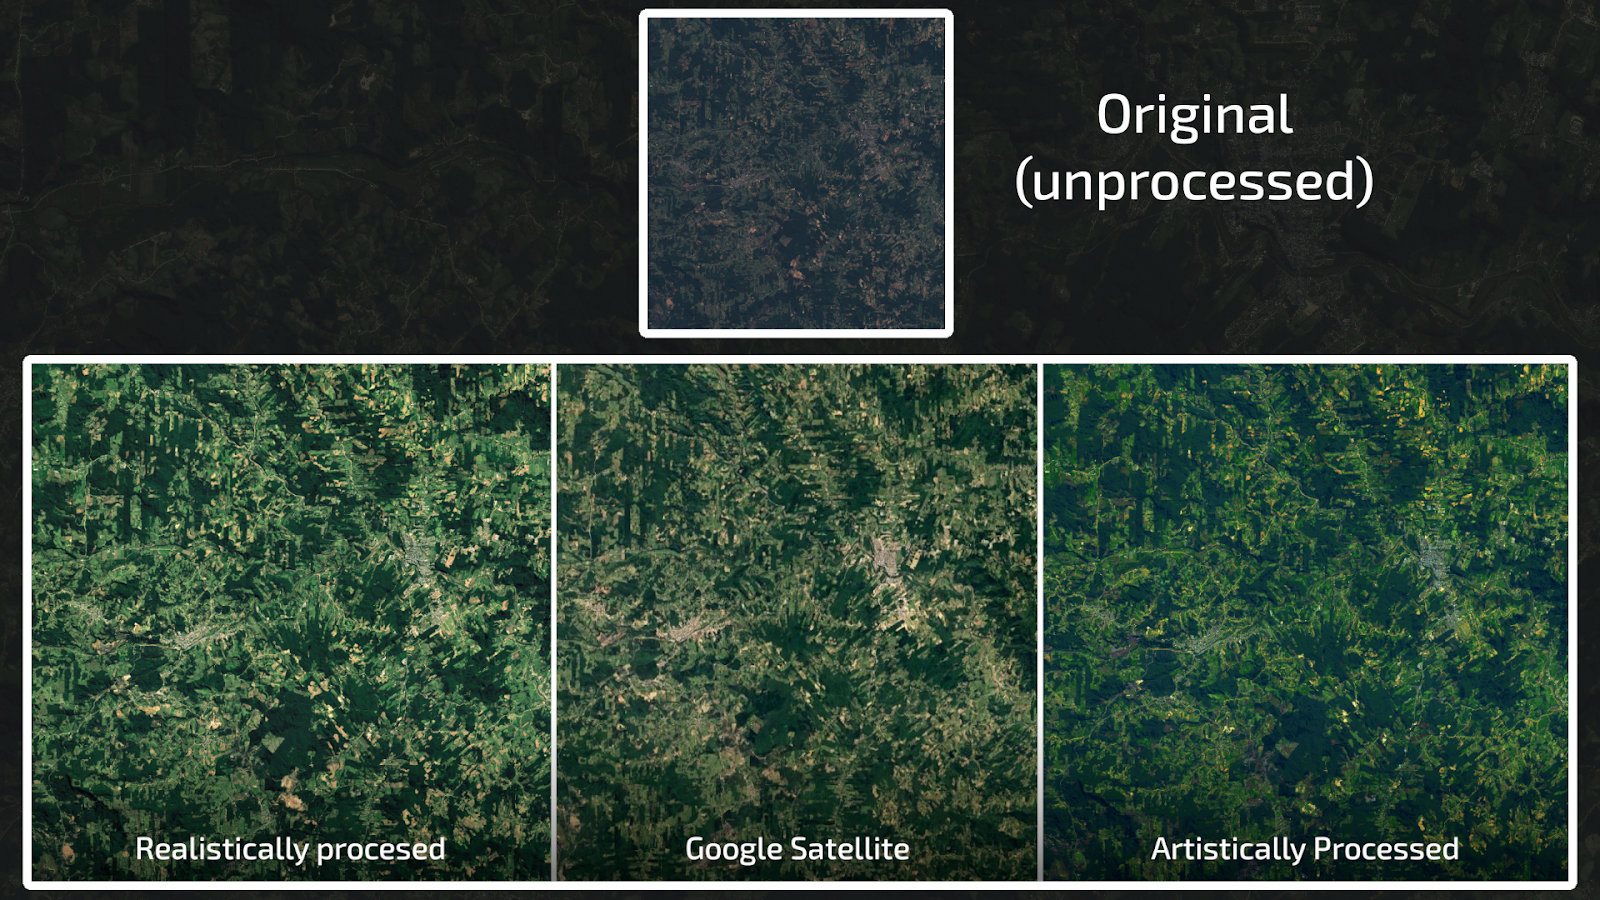
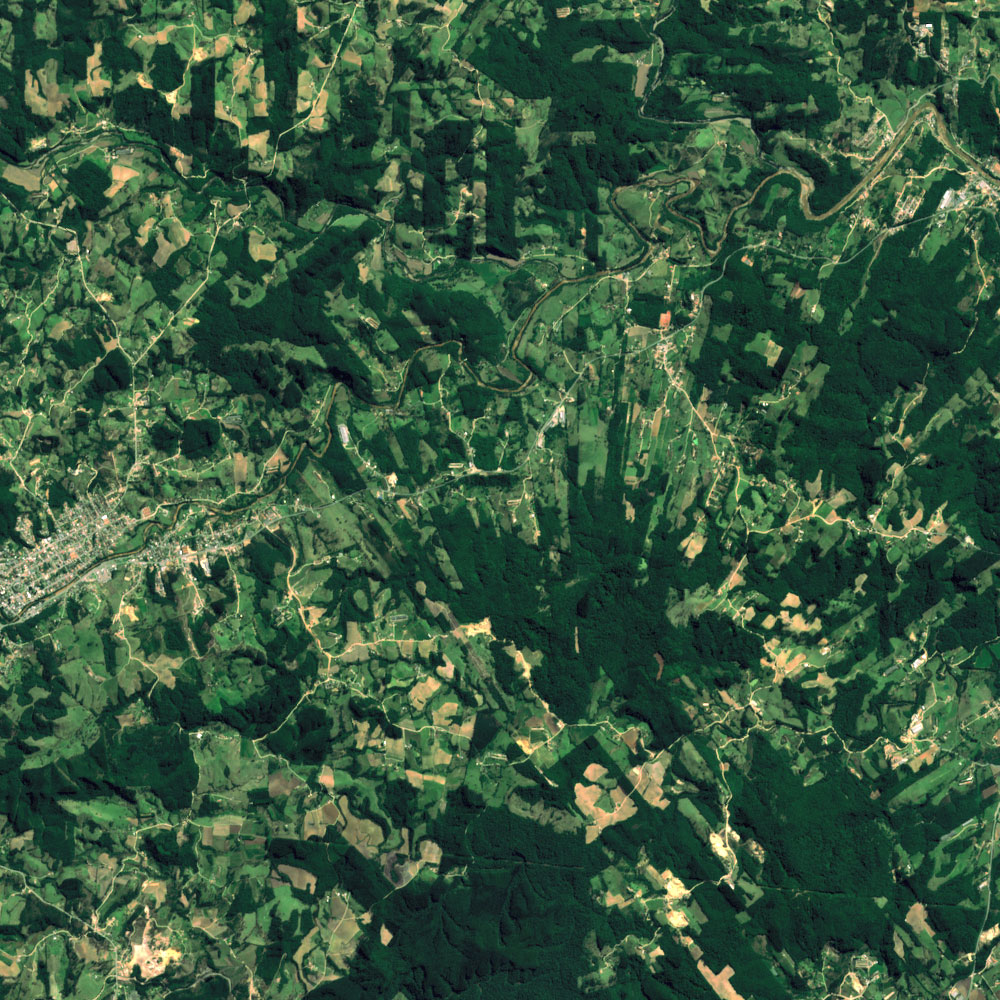
Processing is essentially altering an image to highlight or otherwise enhance it. All we’re doing here is taking imagery and using GIMP to alter the colors, brightness, and other parameters. How does that look? If we compare an unprocessed image from Soar, and that same image processed, you can see the difference instantly.
There are many different styles of processing you could apply to an image. If you’re going for something closer to ‘True Color’, you can use things like the google satellite base map as a reference when processing the colors. Maybe you want to play with the colors a little more and make it artistic. It's really up to you!
So, how do we get started?
First, go to Soar and find an area you want to capture. For today, I’m going to capture an area just outside of New York using the free Sentinel Hub satellite on Soar. Draw your area of interest and select an image that works best for you.
As you can see, if we compare our selected capture to the “Google Satellite” basemap behind it (using the transparency slider), we can see how the Sentinel imagery has a very blue wash to it. We can’t see as many details well from the unaltered imagery.
Let’s fix this! If you haven’t already,
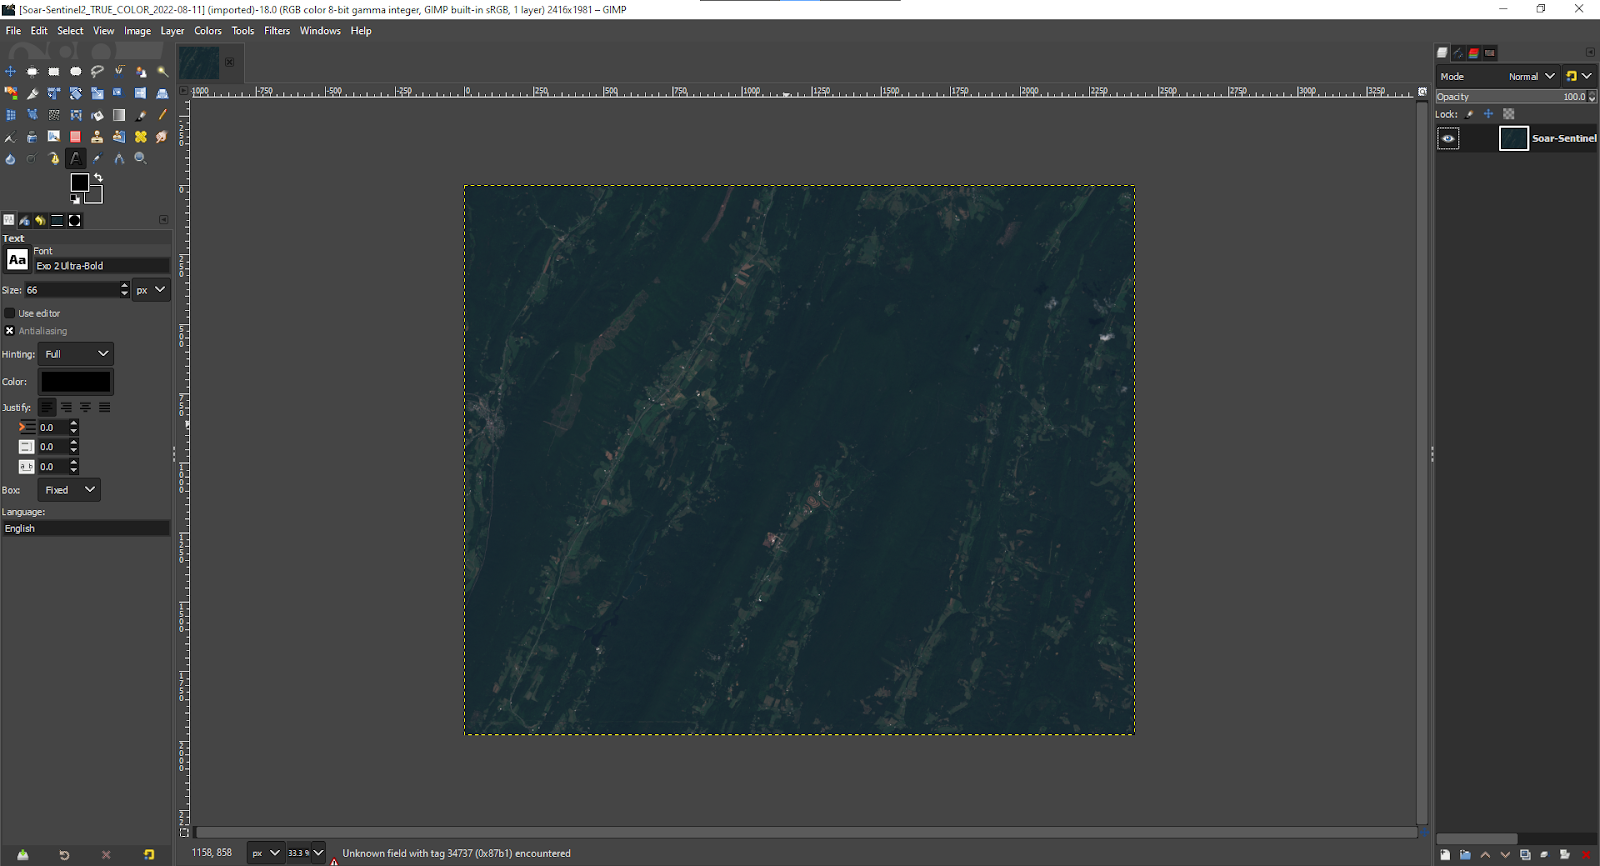
download GIMP 2.10.32 here (It’s free!). Don’t forget to also download your imagery from Soar. Next, drag your imagery into GIMP. It should look something like this.
The main thing we want to change with the imagery is to bring that blue tone down, and push the other colors up so we see more detail.
To do this, go to Colors>Exposure. Increase the black level and exposure until you’re happy with the results. You’ll usually want to set these roughly to what I have in the gif below. For most imagery, the black level will be higher than the exposure.
Next, adjust the temperature of the image by going to Colors>Color Temperature. Changing these values will help you get the blues out, and bring the warmer colors in. For imagery like ours that has a lot of green in the image - this is a very powerful and easy tool.
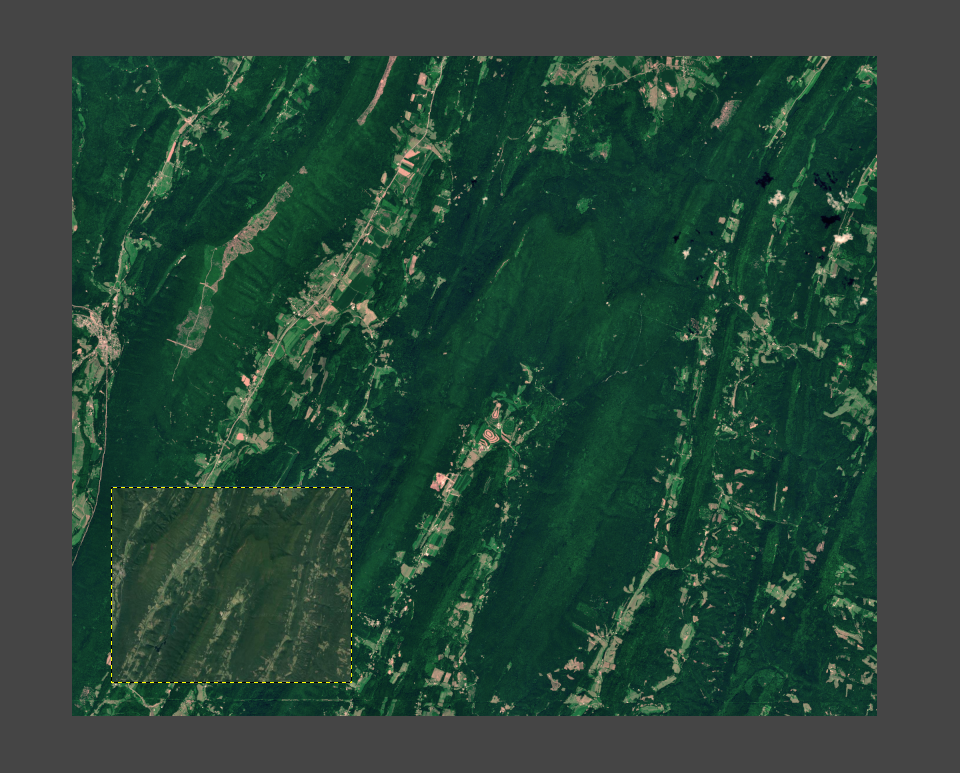
The final thing we’ll want to do is to just bring the brightness up a bit, before balancing things. If we go to Colors>Shadow Highlights we can push the white point adjustment up to brighten up the image in the spots that matter. After, we can use the same Colors>Exposure tool as we did before, to balance the brightness of the final image.
Before we’re done, we can always take a screenshot of the Google Satellite basemap from Soar, and paste it into GIMP as a reference when adjusting colors. This will ensure you can easily get as close as possible to the real location.
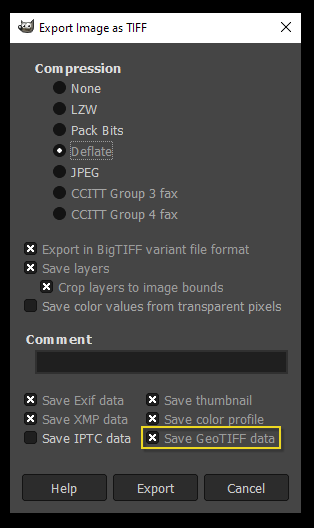
Once we’re happy with the image, just go to file>export as>export. Now you should have a ‘.tiff’ file ready to upload to Soar.
Let’s take a look at the difference between unprocessed and processed imagery.
It’s pretty incredible, right? These steps are just some of the basics. With different images, you can do different things. Use a combination of these tools to get unique results. Most of it is simply playing around with the colors and adjusting things until you’ve got an image you’re happy with. Don’t be afraid to experiment a little, and go wild!
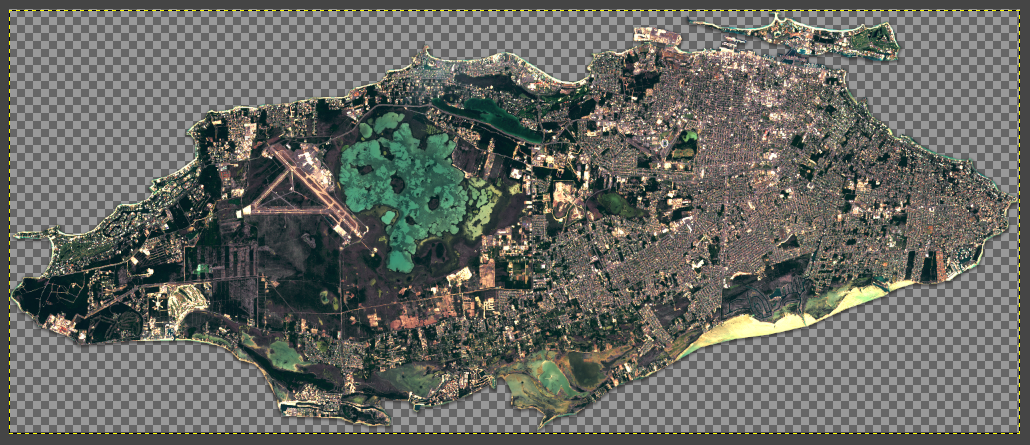
With all of this, there’s one simple rule: never alter the original bounds of the image. If you keep that in mind, you can go beyond what we’ve covered here, and do some really neat tricks. For example, adding transparency and cutting out content.
Here, we added an alpha channel to the image and cut out the island.
When uploaded to Soar, we see
only the island overlaid on the basemap! This can be very handy for maps where you only want to overlay specific info, rather than cover the entire window in imagery.
You could even add things like text, icons, borders, legends, etc - to really make it feel close to a traditional map. Remember the rule: as long as it keeps the same image dimensions, any content inside can be added, altered, or enhanced.
Hopefully, you’ve found this short tutorial helpful. We highly encourage you to give it a try! If you do, be sure to upload it to Soar and tag us on Twitter @Soar_Earth. We’d love to see your imagery.
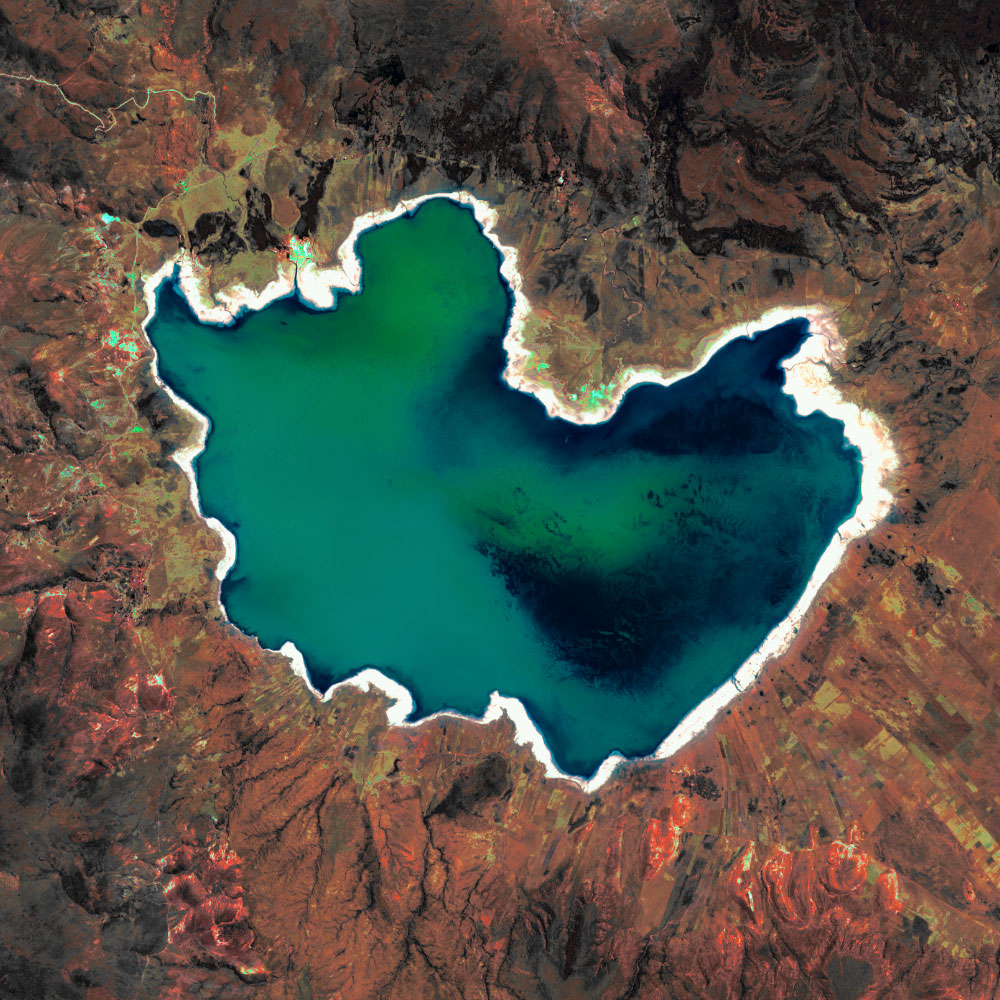
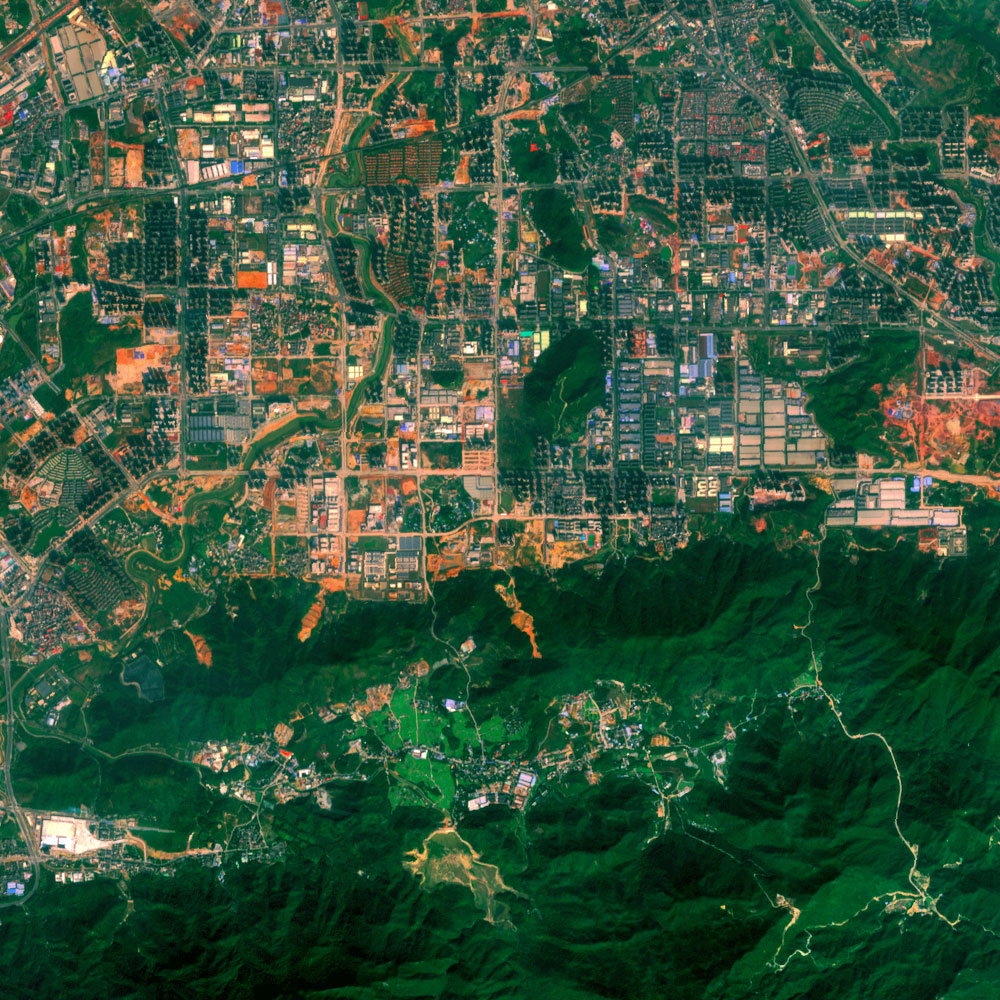
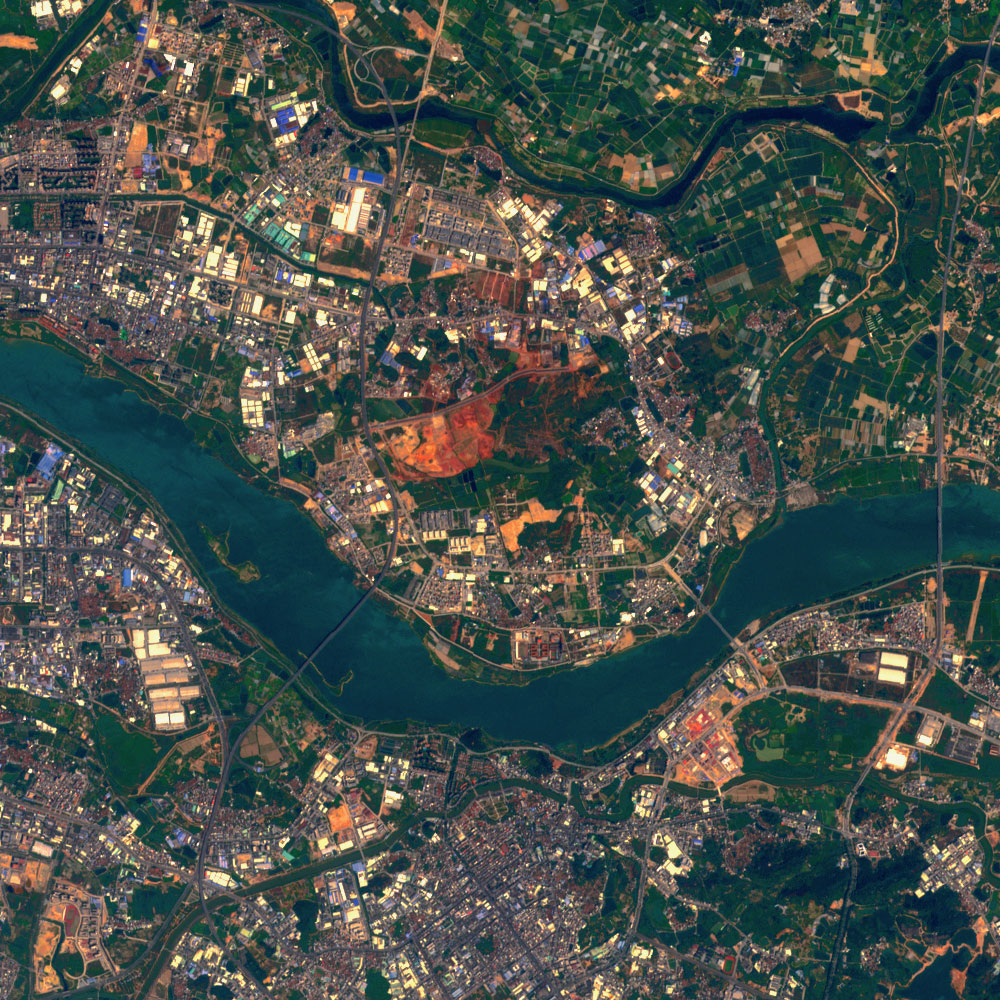
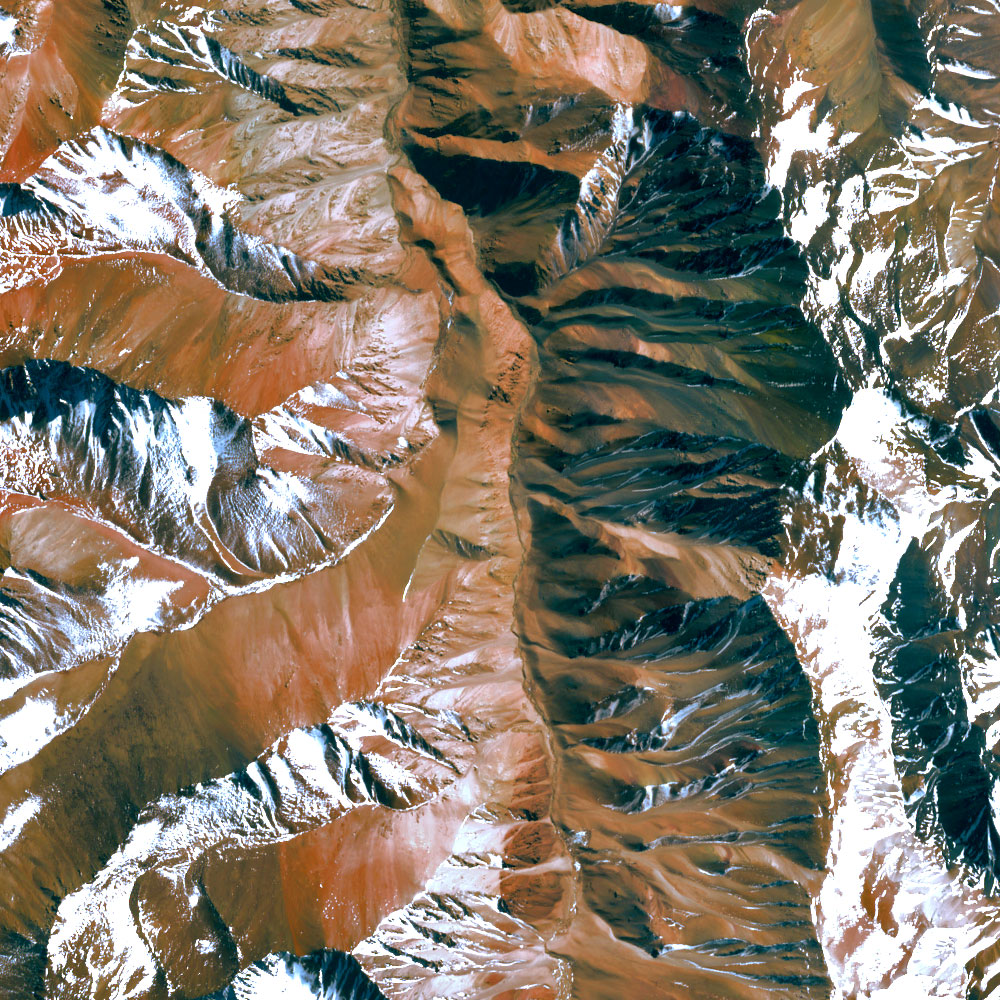
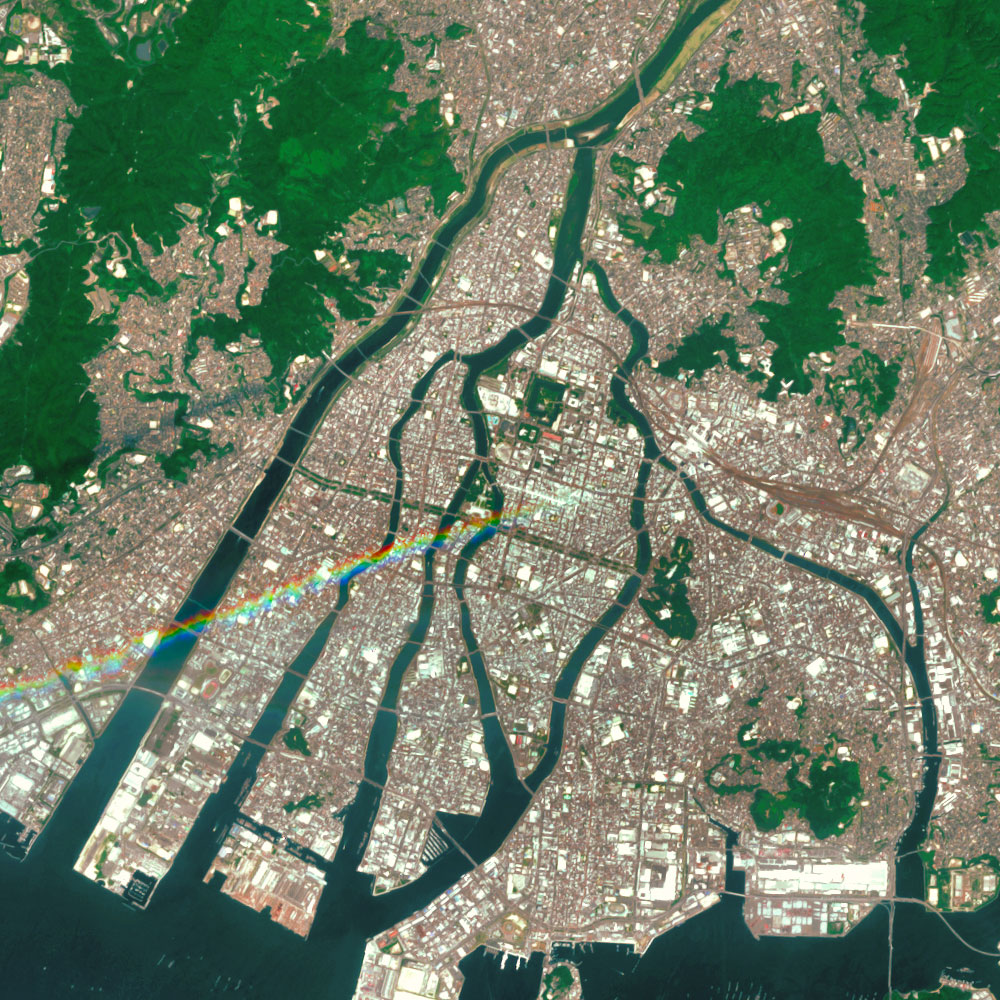
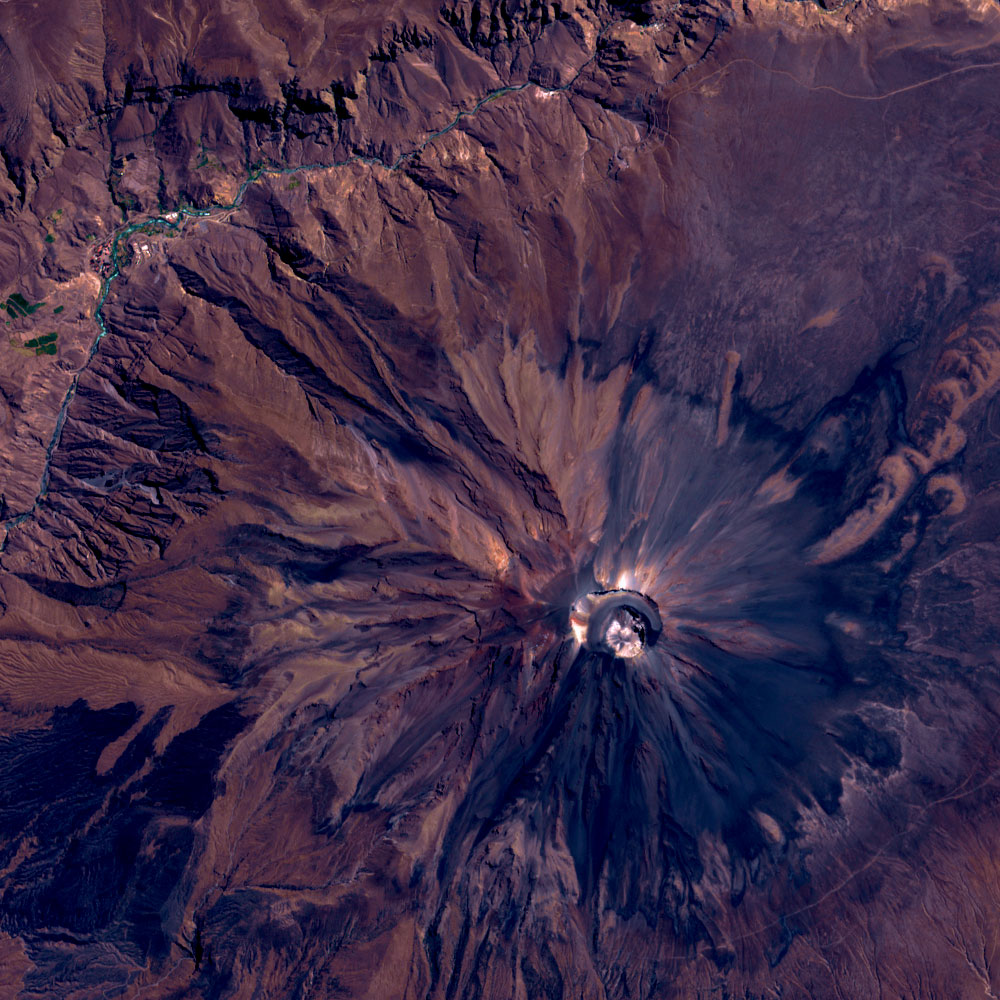
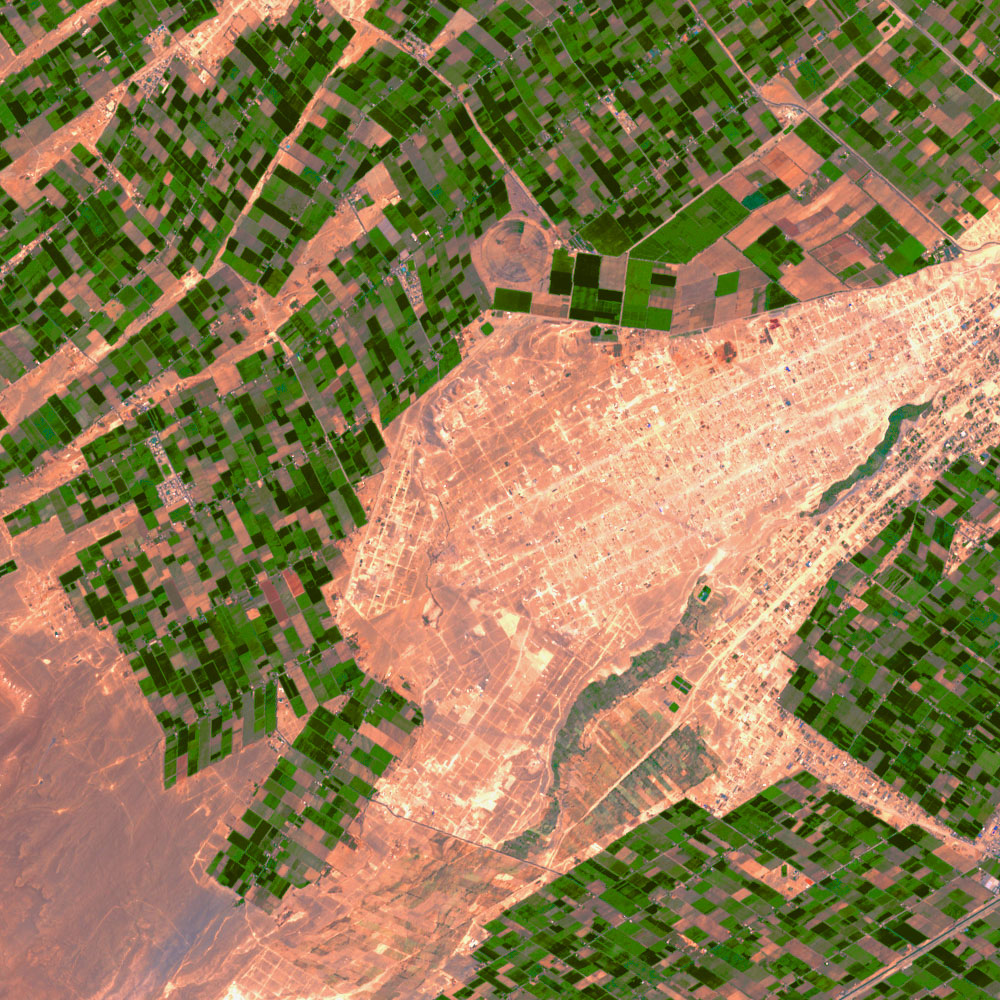
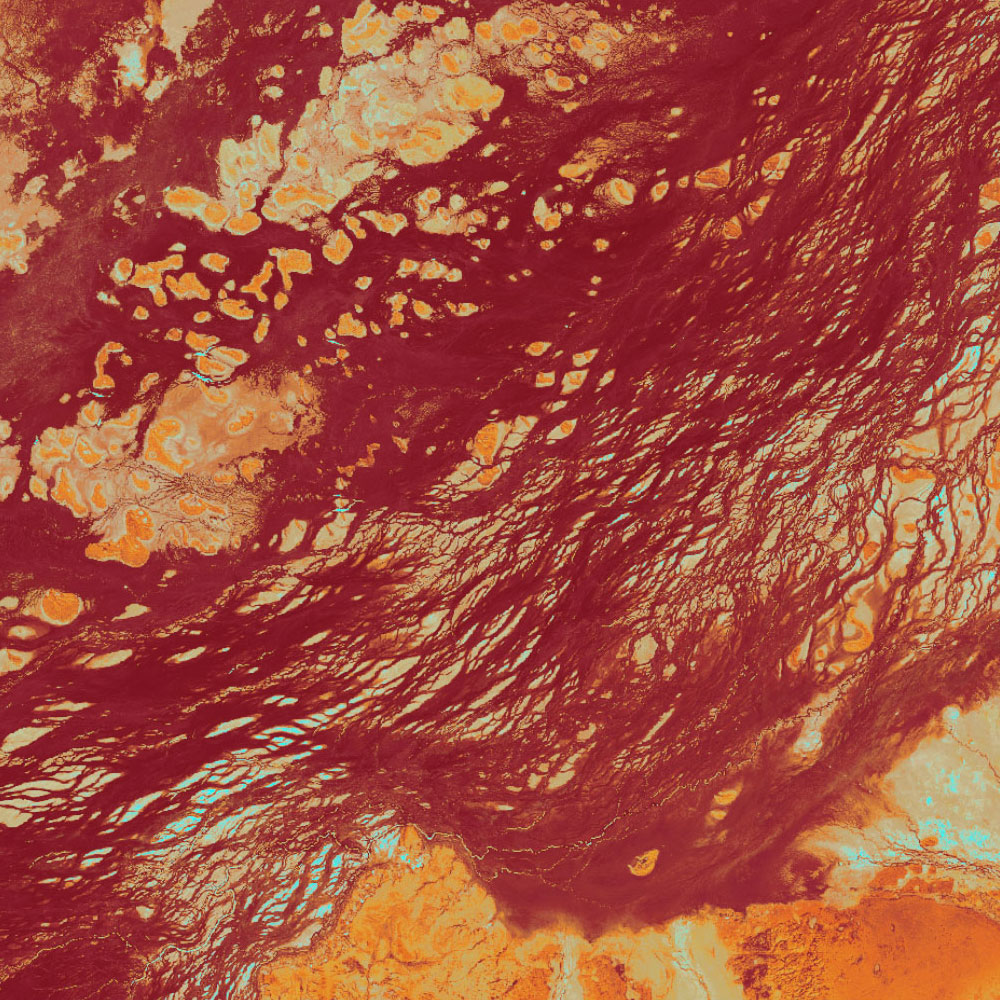
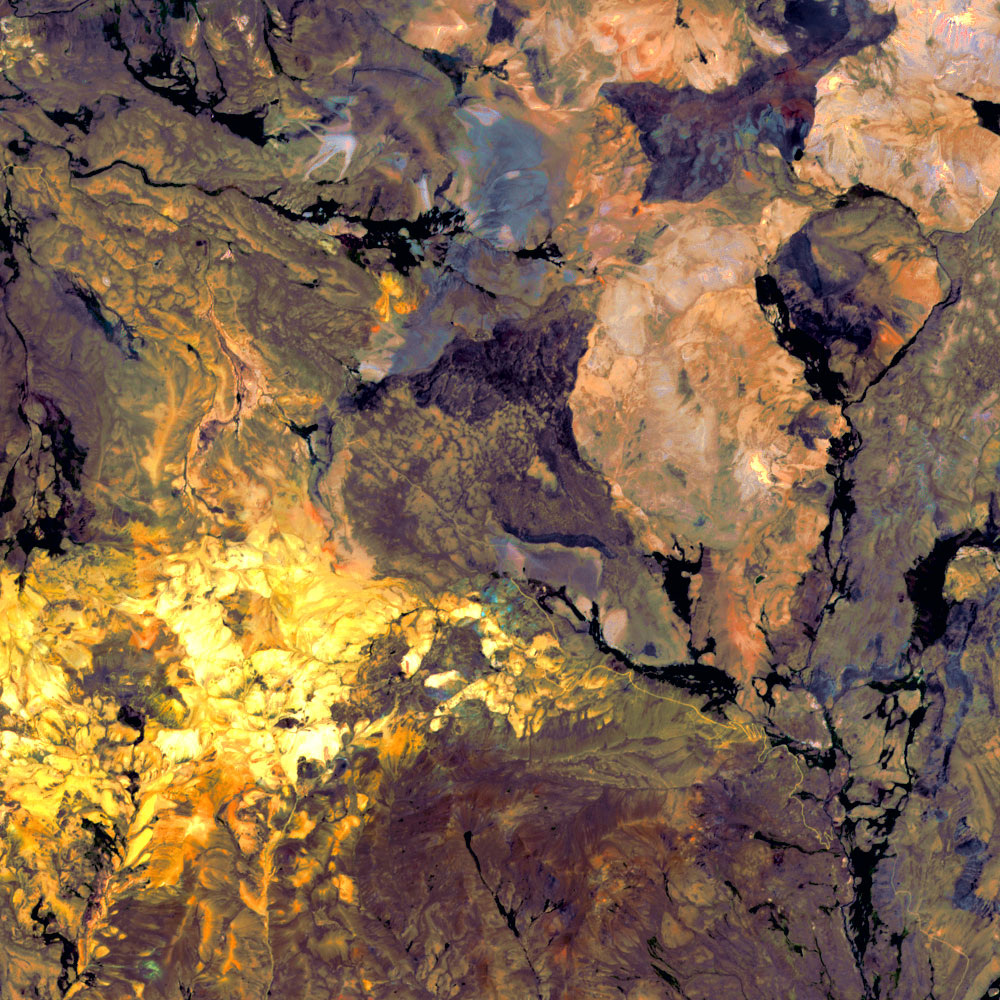
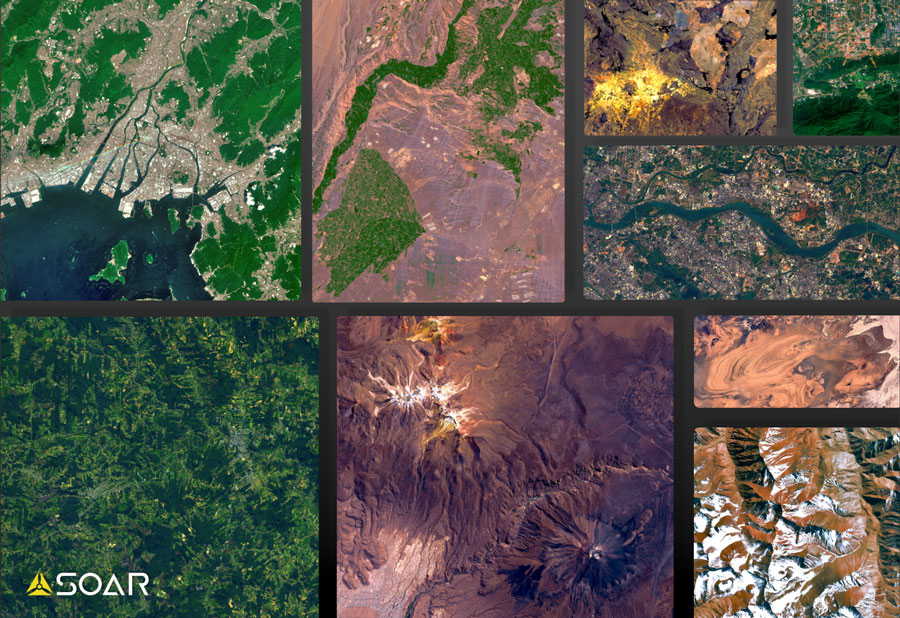
I’ll leave you with a few maps I’ve created this week, using the same principles mentioned above. These maps lean towards the more artistic side, so I hope you enjoy them. Click a map in the gallery below to explore it on
Soar.

This blog was written by:
Michael Pearce
Michael is a creative producer for Soar, crafting creative content such as videos, graphics, and social media posts. He has a background in video game development and enjoys spending time with pigeons in the city.
View author's Soar profile